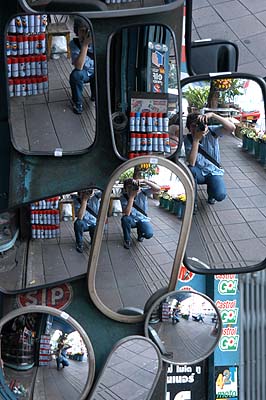
I often receive emails asking about what kind of photo equipment I use or how I edit my photos. I'm flattered by this, as although I do earn my bread by taking photos, I've only been shooting professionally for a couple years now. Go back to the early days of this blog, and you'll see some pretty horrible pics and even worse editing. Regardless, I'm learning and improving all the time, and for those of you who care, the following outlines what I shoot with, and how I edit my pictures.
I shoot with a Nikon D200. I really, really like this camera; it feels strong and durable like my F100 (a Nikon film camera), and the controls are easy to use and intuitive. The only downside is that, at least in my experience, the images require some basic post-processing, as you will see below.
In terms of lenses, the vast majority of the shots on this page are taken with my Nikon 35mm f/2. When put on the D200, the 1.5 factor makes it very close to a 50mm "normal" lens, i.e., similar to what the human eye sees. It's a light, compact lens that because of the fast aperture, is great in low-light situations. Sometimes I'll also use my Nikon 60mm f/2.8 Macro, probably the best lens I own, although obviously it requires a bit more light (and distance). After having used a few off-brands, I've decided I'm only going to use Nikon lenses from now on. And of course I always use Nikon UV filters to protect the glass.
I always shoot in RAW (with accompanying jpegs), because I don't like to worry too much about getting the exposure just right, and with RAW you can "push" or "pull" the image up to a stop or more with no real repercussions. I import my images using Nikon Transfer and use Nikon View 6 to weed through the jpegs and organize my images. I use Photoshop CS2's RAW converter (not the useless Nikon one) to adjust white balance (another advantage of shooting in RAW), exposure and boost the saturation. I also use this screen to adjust the colour space, using sRGB if the image is going on the web. In Photoshop I improve the contrast using Levels, resize and sharpen. Sometimes I'll crop, but rarely, if ever, do I do more than this.
As an example, here's a shot as it looks directly from my D200, with no editing or changes whatsoever:
And here's the same image after adjusting white balance, giving it an exposure increase of 1/2 a stop, a saturation boost of 15, and some adjusting of Levels and a Sharpen:
That's it, and really, that's about the extent of my Photoshop knowledge. I have no idea how to cut ugly people out of an image or change the color of a bowl from red to green (or whatever), so everything you see here is real.
One invaluable tool in doing this blog has been Flickr. In the beginning I posted my pics directly with Blogger, with horrible results. At Flickr, I can fully control the quality of my images and they appear on my blog exactly as I've edited them.
I'm self-taught, and my greatest resource has been, not surprisingly, the Internet. My latest and greatest find is Strobist, a blog that teaches great off-camera lighting techniques using very simple gear. I recently bought a light stand and an umbrella, and am having lots of fun using my simple SB-800 to make studio-quality shots. Ken Rockwell is a great site to learn about gear and/or technique, and for pure photographic inspiration, go to the Magnum Photos site, or browse David Alan Harvey's blog.
But really, all this technical stuff is pretty boring; if you want to improve, get out and shoot!


